eSignature API
How to obtain your API Key
Activating your Legalesign Electronic Signature API account is easy and takes just a few minutes.
When you sign up for a trial select the API configuration for your new group. 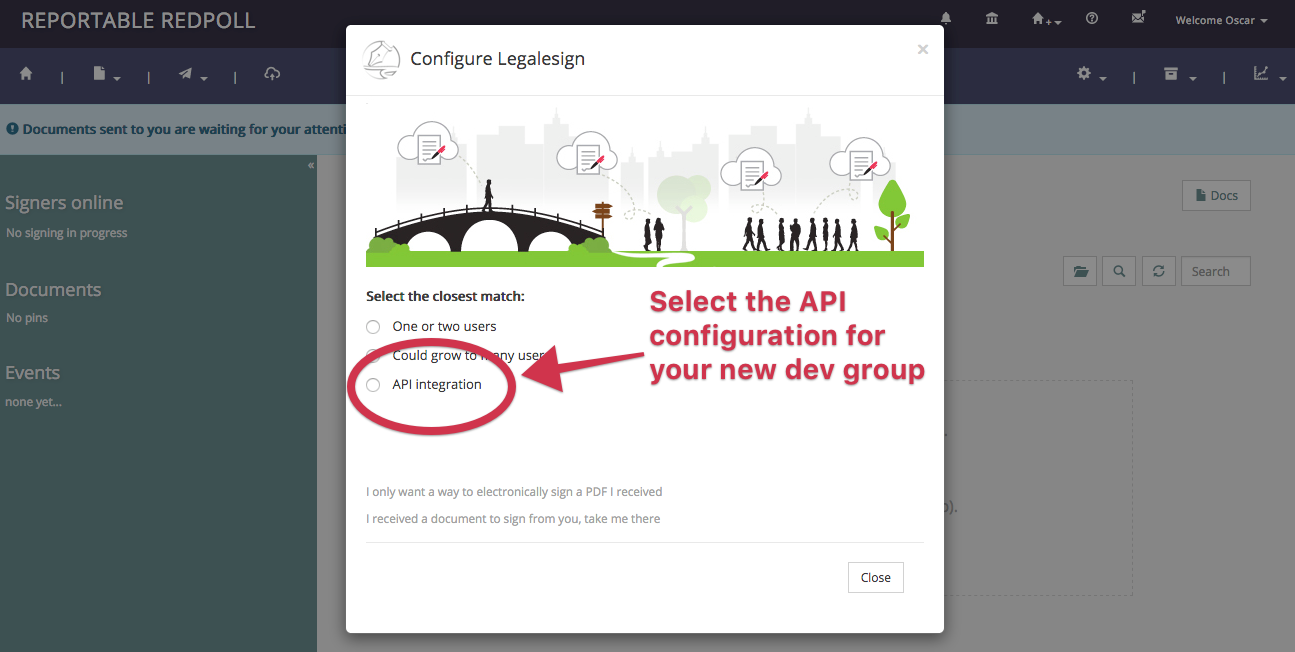 The API team you now create will give you quick access to personalised documentation with cut & paste code. Click here for general (non-personalised) API documentation.
Read this article for more information about development and production API groups on Legalesign.
Once you have your team set up follow these steps:
Step 1: Contact support and let us know you want API access and explain your use-case. For security reasons we need to confirm your identity and use-case before opening the API.
Step 2: Go to your Legalesign account and go to Welcome > API, click the option ‘Click here to create key’ and note down your API key and Username for future use.
Step 3: You'll be in sandbox while you test. Where you got your key enter up to five email addresses to receive test documents to electronically sign while in sandbox.
Step 4: Get coding! When you are logged in, the top navigation of your development group will include a link to your personal documentation. There is also the Swagger docs for the API. Swagger should be able to output a SDK in most languages.
This video shows how to create your API key:
You will want to set up a production group in due course and get sandbox lifted. Contact us for support and to let us know how it's going so we can be on hand for your planned go live date. Once live, email and throttle restrictions are lifted, you can send documents to any valid email.
Don't forget to use your personalised Esignature API documentation.